
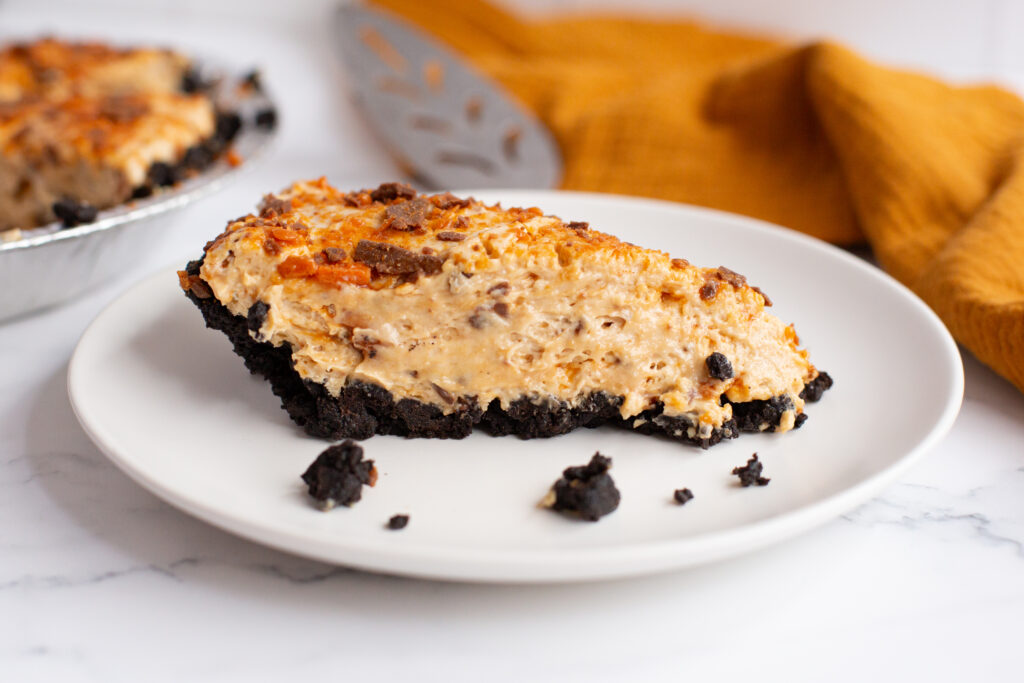
No Bake Butterfinger Pie
This No Bake Butterfinger Pie is rich, super creamy, and packed with that delicious chocolate-peanut-butter crunch everyone loves. It’s the kind of dessert that both kids and adults beg for seconds – maybe even sneak a couple bites straight from the fridge.

This page may contain affiliate links, which means I’ll receive a commission if you purchase through my links, at no extra cost to you. Please read full disclosure for more information.
Perfect for busy weeknights, holidays, potlucks, or when you just need an easy win. Our kids and extended family loved every bite of this dessert!
What is our favorite part about this no bake pie?
- No Baking
- Comes together fast
- Minimal ingredients
You don’t have to worry about heating up your kitchen with this pie! It has a creamy and dreamy texture that makes it seem like you worked for hours putting it together.
Why you’ll love No Bake Butterfinger Pie
No Baking Required – One of my favorite things about this recipe is that there is no baking involved!
Creamy and Dreamy Texture – This no bake pie really has the best creamy texture. The peanut butter, cream cheese, sweetened condensed milk, and Cool Whip together create the best tasting pie mixture!
Kid (and adult) Approved – Kids and adults love this pie! They’ll be asking for more and maybe even the recipe.
Quick and Easy – Nothing beats a recipe that is both delicious and comes together fast!
Supplies needed to make No Bake Butterfinger Pie
- A mixing bowl
- Measuring cups
- Pie pan
- A whisk or an electric mixer
- Zip lock bags for crushing the cookies up
Ingredients
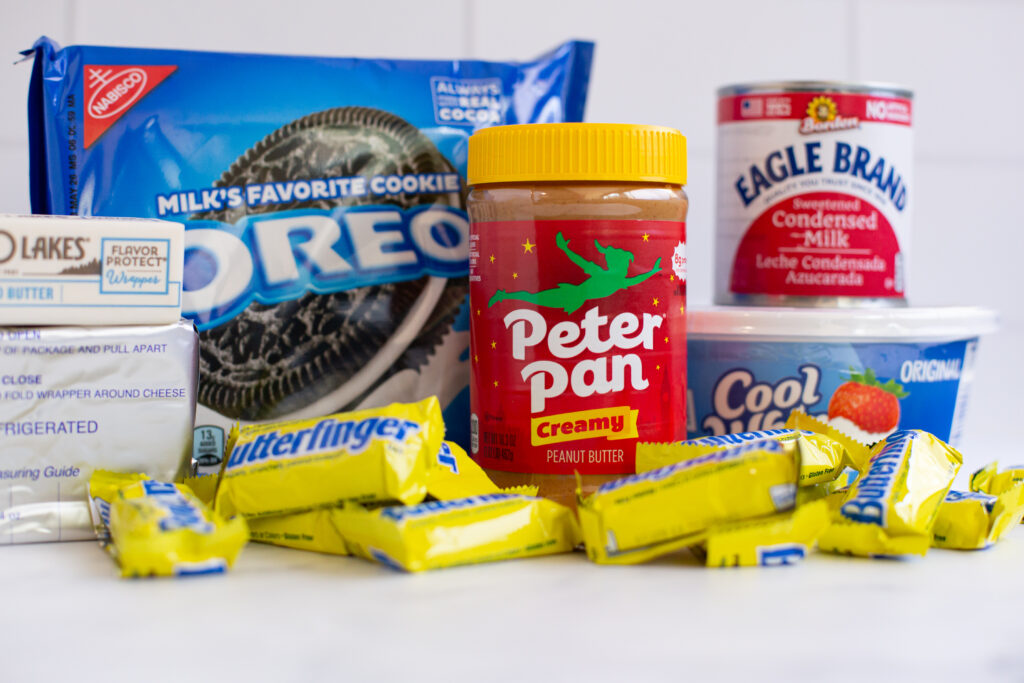
Sweetened Condensed Milk – This is where the tasty sweet and creamy component comes in!
Cream Cheese – Adds a little bit of tang to the filling.
Oreos – Creates the tastiest crust.
Butterfingers – This ingredient is added to both the topping and the filling and adds such a delicious candy bar crunch!
Cool Whip – Makes the filling fluffy and creamy.
Creamy Peanut Butter – I love creamy peanut butter by itself. If you’re like me, you’ll love it in the pie filling!
Butter – Added to the Oreo crust, binding the crushed cookies together.
The full recipe, along with the ingredients, can be found below.
How to make No Bake Butterfinger Pie


Remove the cream centers from your Oreos and toss the cream – you don’t need it for this recipe! In a zip lock bag, put all of your Oreo halves inside, zip tight, and pound them until they are most crushed. We left ours not so broken up. We liked the crumbled texture of the cookies!
Pour your crushed cookies in a a bowl along with your melted butter and combine thoroughly. Pour your cookie and butter mixture into a pie pan and press into the pie pan evenly to form a crust. Set your Oreo crust in the fridge and allow the crust to stiffen.
You’ll be mixing 8 Fun Sized Butterfingers into the pie and setting aside 4 for the top. Crush your first 8 candy bars in a zip lock bag and set aside.
In a separate bowl, mix together your peanut butter, cream cheese, and sweetened condensed milk. Then, fold in your Coolwhip and 8 crushed Butterfingers and until combined.
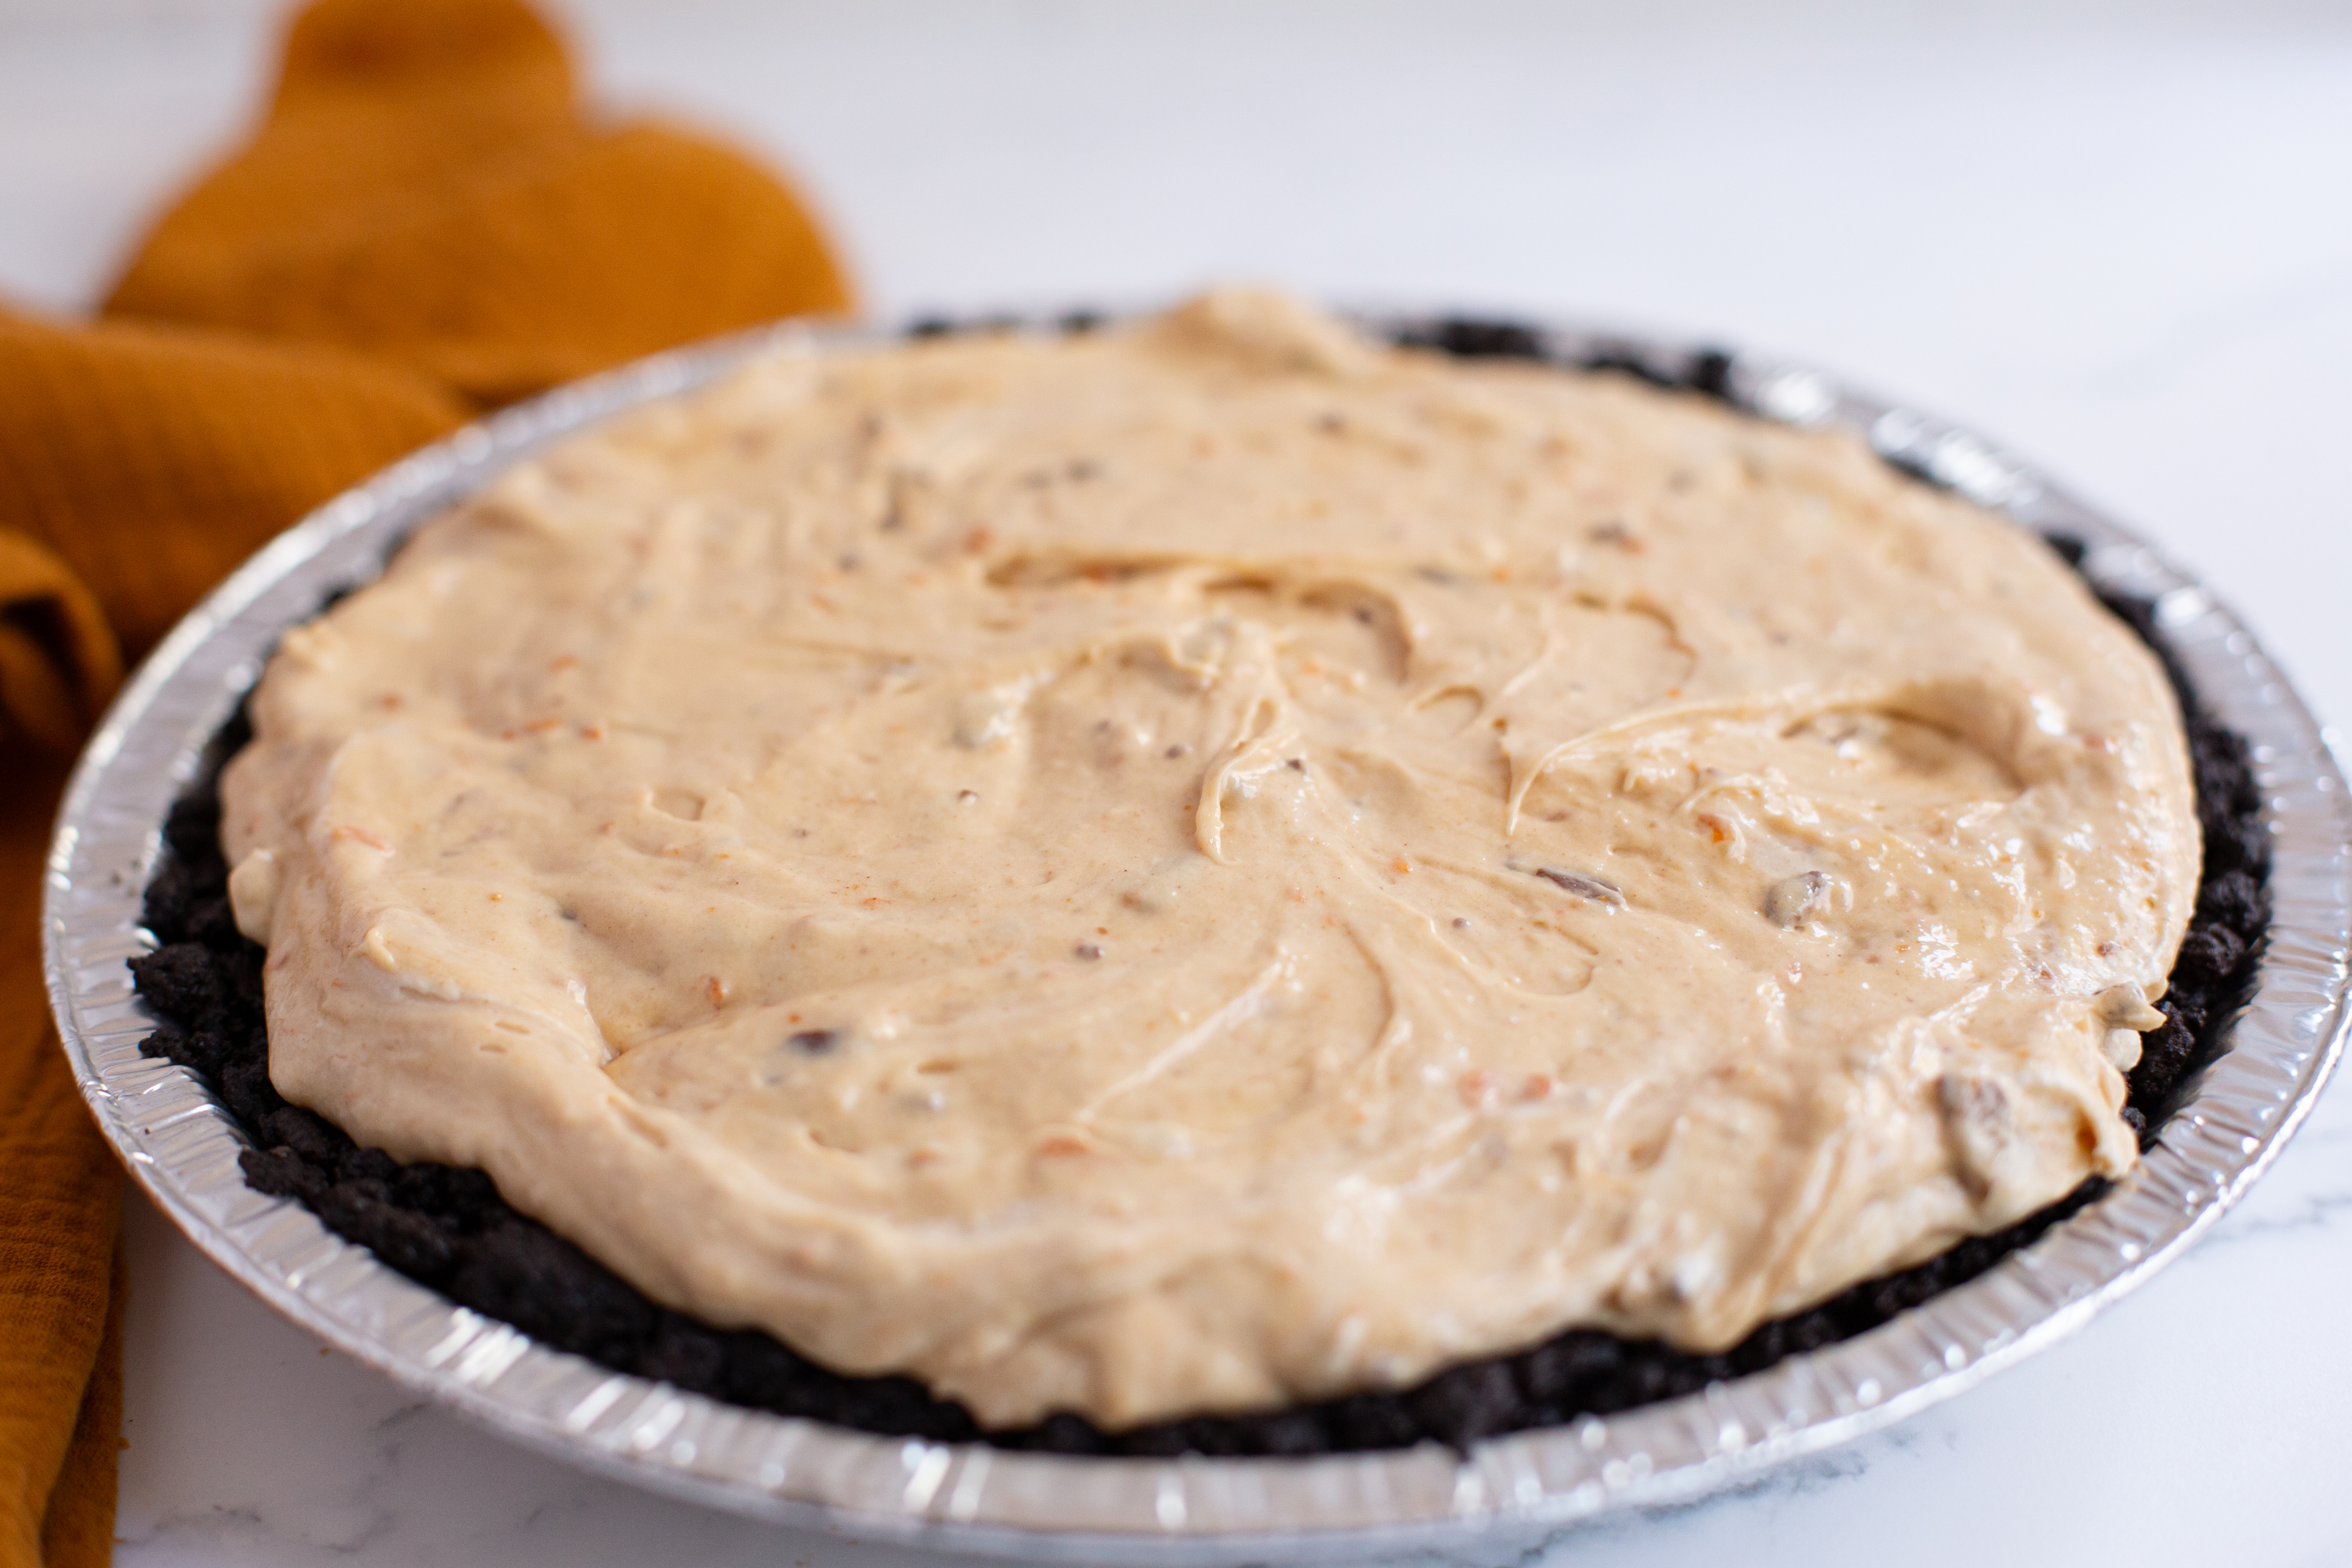
Pull your set pie crust from your fridge. Pour your mixture in your pie pan.
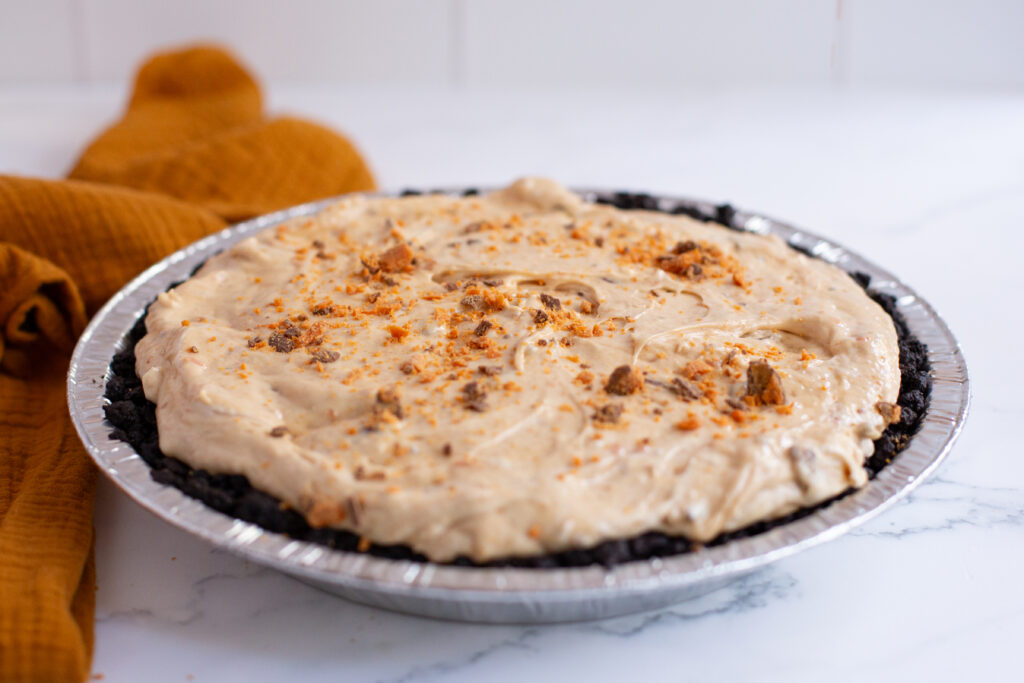
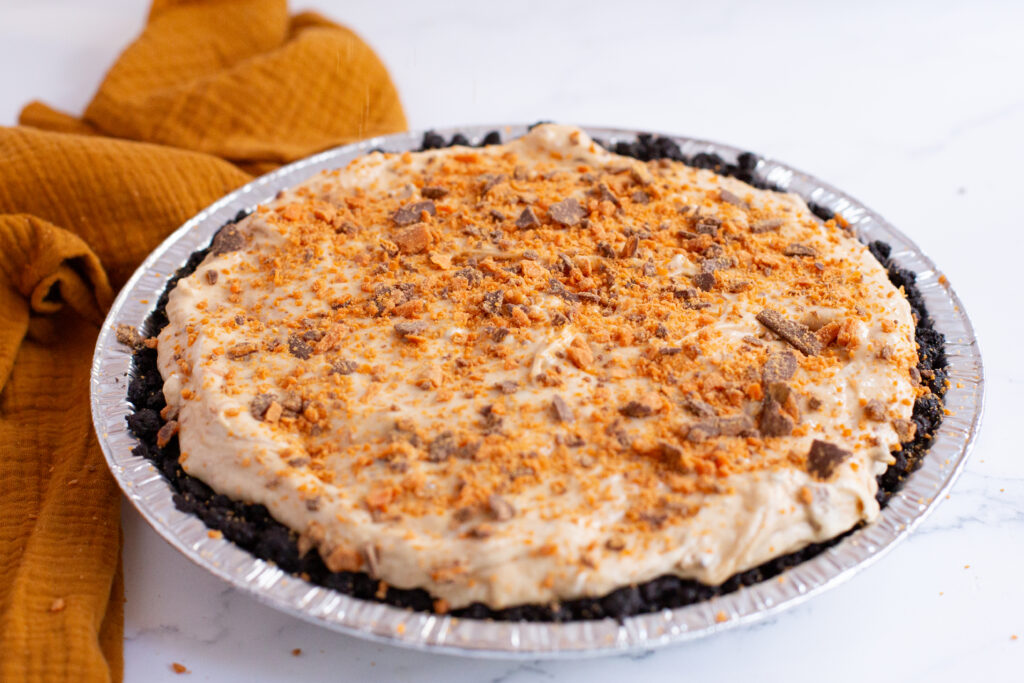
Top your pie with the remainders 4, crushed Butterfinger candy bars.
Allow the pie to sit in your fridge for at least 2 hours (or overnight!) to give it time to sit and stiffen.
Once your pie has been in your fridge for a few hours, cut into 8 equal slices and serve!


Tips
- Make sure to use full fat creamy cheese for creamiest texture.
- Let the pie chill fully for at least 2 hours (or overnight!) before cutting for the cleanest cuts!
- Crush your Butterfingers and Oreos in a zip lock bag for the easiest clean up.
- Make it the night before – it tastes even better the next day!
FAQs


Recipe

No Bake Butterfinger Pie
Ingredients
- 1 Stick Unsalted Butter melted
- 8 oz Coolwhip
- 1 cup Creamy Peanut Butter
- 14 oz Sweetened Condensed Milk
- 12 Fun Sized Butterfingers crushed
- 8 oz Cream Cheese room temperature
- 25 Oreos cream center removed, crushed to your favorite texture
Instructions
- Remove the cream centers from your Oreos and toss the cream – you don't need it for this recipe! In a zip lock bag, put all of your Oreo halves inside, zip tight, and pound them until they are most crushed. We left ours not so broken up. We liked the crumbled texture of the cookies!
- Pour your crushed cookies in a a bowl along with your melted butter and combine thoroughly. Pour your cookie and butter mixture into a pie pan and press into the pie pan evenly to form a crust. Set your Oreo crust in the fridge and allow the crust to stiffen.
- You'll be mixing 8 Fun Sized Butterfingers into the pie and setting aside 4 for the top. Crush your first 8 candy bars in a zip lock bag and set aside.
- In a separate bowl, mix together your peanut butter, cream cheese, and sweetened condensed milk. Then, fold in your Coolwhip and 8 crushed Butterfingers and until combined.
- Pull your set pie crust from your fridge. Pour your mixture in your pie pan.
- Top your pie with the remainders 4, crushed Butterfinger candy bars.
- Allow the pie to sit in your fridge for at least 2 hours to give it time to sit and stiffen.
- Once your pie has been in your fridge for a few hours, cut into 8 equal slices and serve!
More Recipes to Try
The Best Ever Dill Pickle Tuna Salad
Weeknight Simple Meatball Subs
Copycat Starbucks Pink Drink Dupe
If you try any of these recipes, I would love for you to come back and leave a comment!